Pi Noon Mount
The goal of this was to securely mount the electrical chocolate bloc provided by the competition organisers to the robot. The challenge was to do this securely enough that even if the pi noon attachment has some weight it wont rip it off the robot when it inevitably collides with something.
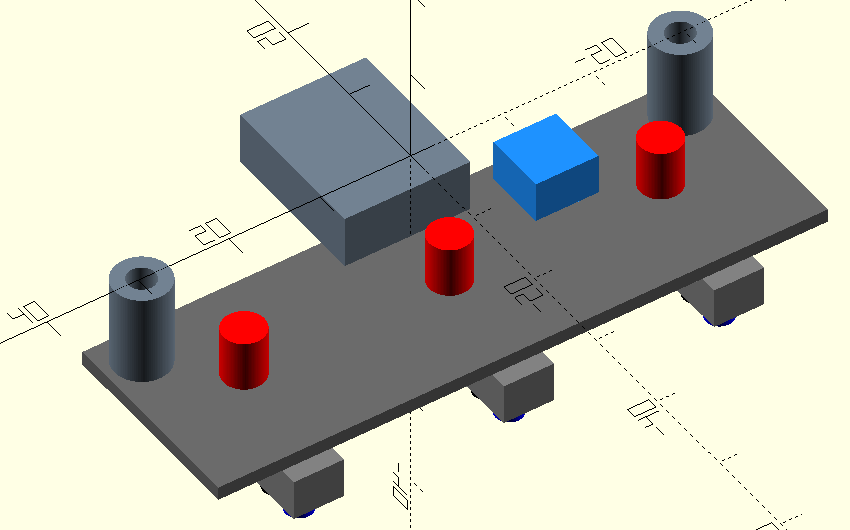
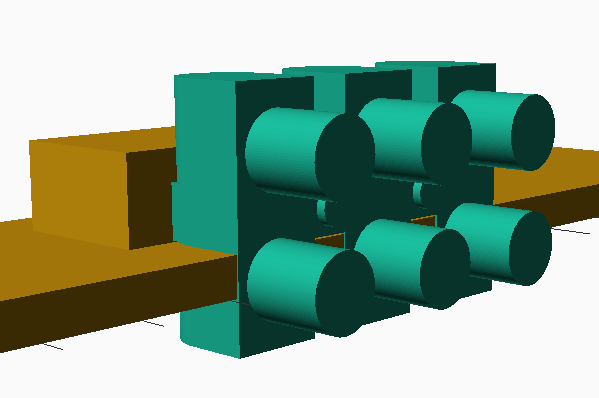
Stage 1 was to made a model of the block provided. This would be used to create a mount. The M3 mounting bolts were left long to provide a negative that could be subtracted from the mount ensuring alignment.
During the previous competition a number of attachments were made to fit to existing screw points of the robot. Checking measurements, the middle one was selected as it provided sufficient space to add the block and bolt it down.
To attach the block a simple cube was added and the block inset into both the attachment and cube.
By offsetting the block so the connection bar was resting on the attachment should make it stronger.
To aid fastening together a captive nut was added to the end of each bolt.
 |
 |

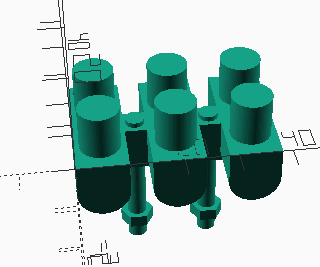
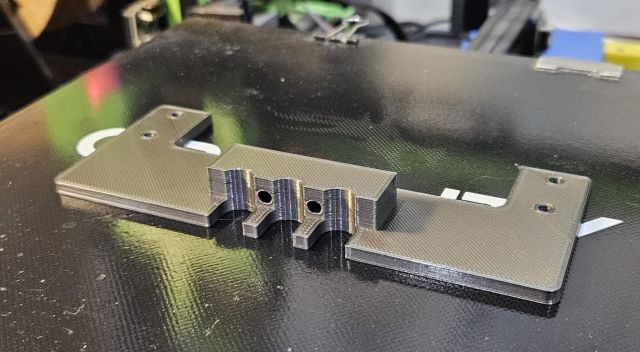
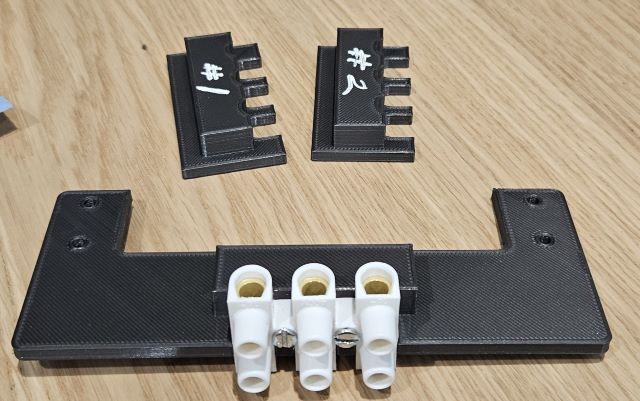
Prototype 1.
A subset of the overall design was printed to both save filament and also speed up the iteration of design time.
The block was very tight and rested slightly too high meaning the bolts didn’t align correctly.
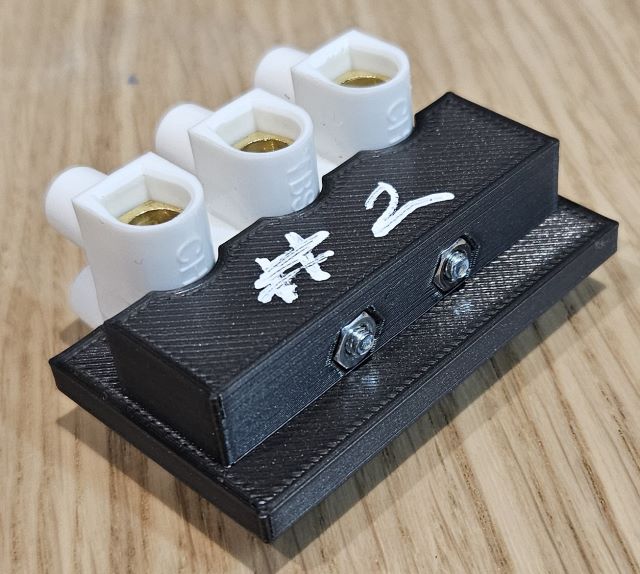
Prototype 2.
Some tolerances were added to the core part of the block while still maintaining the overall size. This iteration fitted perfectly seen in the picture. The captive nuts were a tight fit which enables a 25mm M3 bolts to be tightly screwed together without slipping.
 |
 |
 |
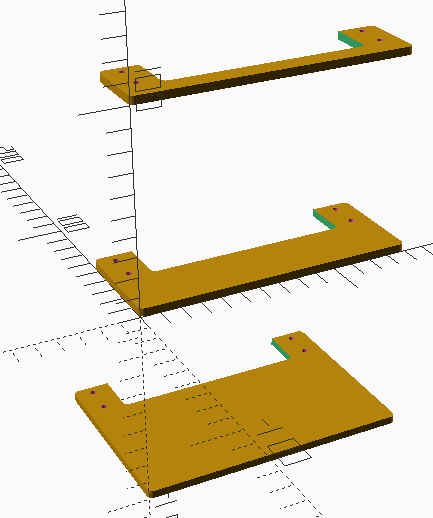
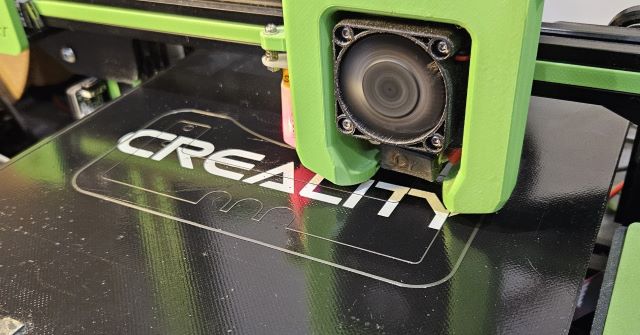
Now knowing the design was going to work a full size, full model print was made. It took about 1h45 to print compared with 45mins for each of the prototypes.
As with prototype 2 the fit was perfect.
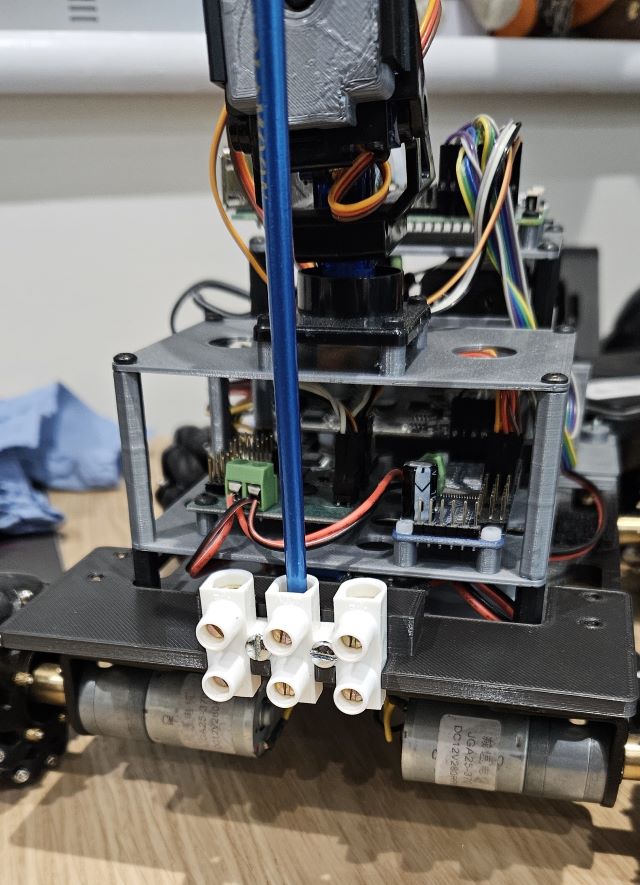
After mounting the pi noon attachment to the robot, a paintbrush was added to show how it would look.
We can now tick off one of the competition challenges!